Two Minute Makeover
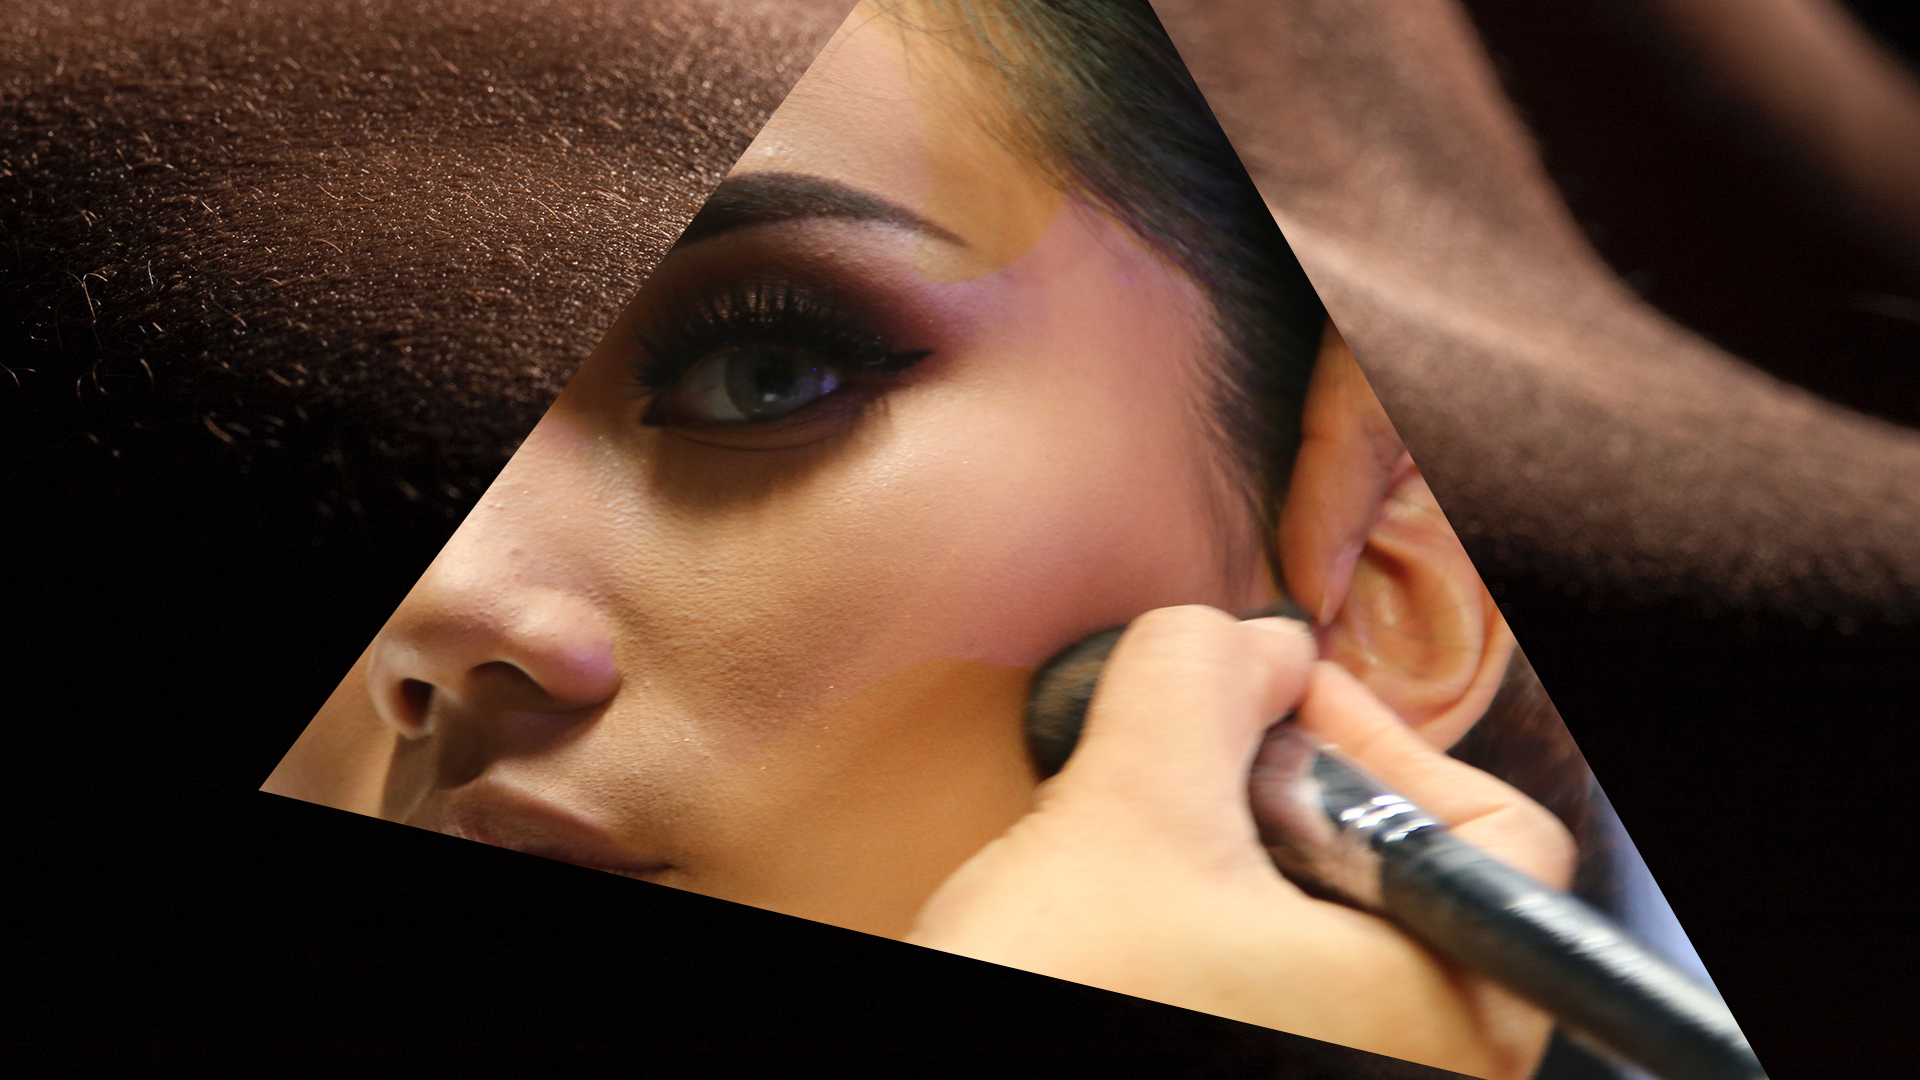
Contouring can be a great way to take years off of your age, allow you to shape your face in the most appealing natural way or create that dramatic look, suited for any special occasion. With a bit of practice, it won't take you more than 2 minutes out of your usual make-up routine.
What do you need?
First off, you will need two base foundation shades on top of the one that you typically use as your main foundation. One that is a few shades darker than your natural skin tone for the contouring effect and another that is a few shades lighter for the highlighting effect. Benefits of using foundation instead of powdery bronzer and highlighter are that it avoids the risk of an airbrushed look.
The dark shade will naturally make the applied area appear slimmer, the lighter shade will serve to accent the applied area, visibly bringing them out. Your objective is to apply the two base shades of foundation (powder, cream or liquid, any form will do) to different areas of your face to achieve a well-defined visual reference of your facial features. It’s all about creating an illusion of depth and dimension to your face.
The secret to contouring is in the blending. Investing in a quality blending brush or sponge will be important to creating that flawless look. Remember to start off with a light touch and gradually build your way from there. This is particularly the case for thicker texture contours that dry up quicker, wetting your blending sponge or brush slightly before contouring will assist greatly. Also, you will want to pay specific attention when blending the contour up close to the hairline for a natural finish.
Contouring Golden Principles
Everyone's face is different and requires different ways to contour and highlight. Generally, the rules below will provide a good starting point.
Contouring locations
Start by creating your most ideal face shape. Imagine an oval that runs from the top point of your forehead to the bottom point of your chin, anything outside of this oval, you should apply contour (darker shading). Trace the contour on your jawline from the base of the jawbone to the chin to separate it from the neck. This will immediately provide a good frame for applying further makeup.
Next, suck in your cheeks, this will help to pop out your cheekbones to find the hollow areas for contour application. This will not only give your face a slimmer feel, it also helps define the apples of the cheeks for a fuller look. To make your nose appear smaller, apply contouring to both sides of the nose.
Highlighting locations
You may want to create the look of heightened cheekbones, a taller nose, enhance the apples of your cheeks, and/or accentuate your forehead. Apply the highlighter (lighter shading) to those areas to give them more light.
 Source: jodie.de
Finally, set your makeup with translucent powder or makeup setting-spray. This will help the makeup last longer when applied.

Tips from The Artistry
- Wet your sponge and squeeze it dry just before use. The moisture in the sponge will make blending easier.
- Blend out the highlighter first before blending the darker color contour
- Blend with a dabbing motion instead of dragging the sponge. Always blend in the direction towards the hairline.
- Everyone’s facial features are different. Adjust your technique as you go to achieve a look that is more suitable for you and the occasion.
Related:
CC Clarke Beauty – Contours Do’s and Don’t’s
Ting Yong – How to Contour for Beginners
.png?width=180&height=80&name=imgpsh_fullsize_anim%20(1).png)

